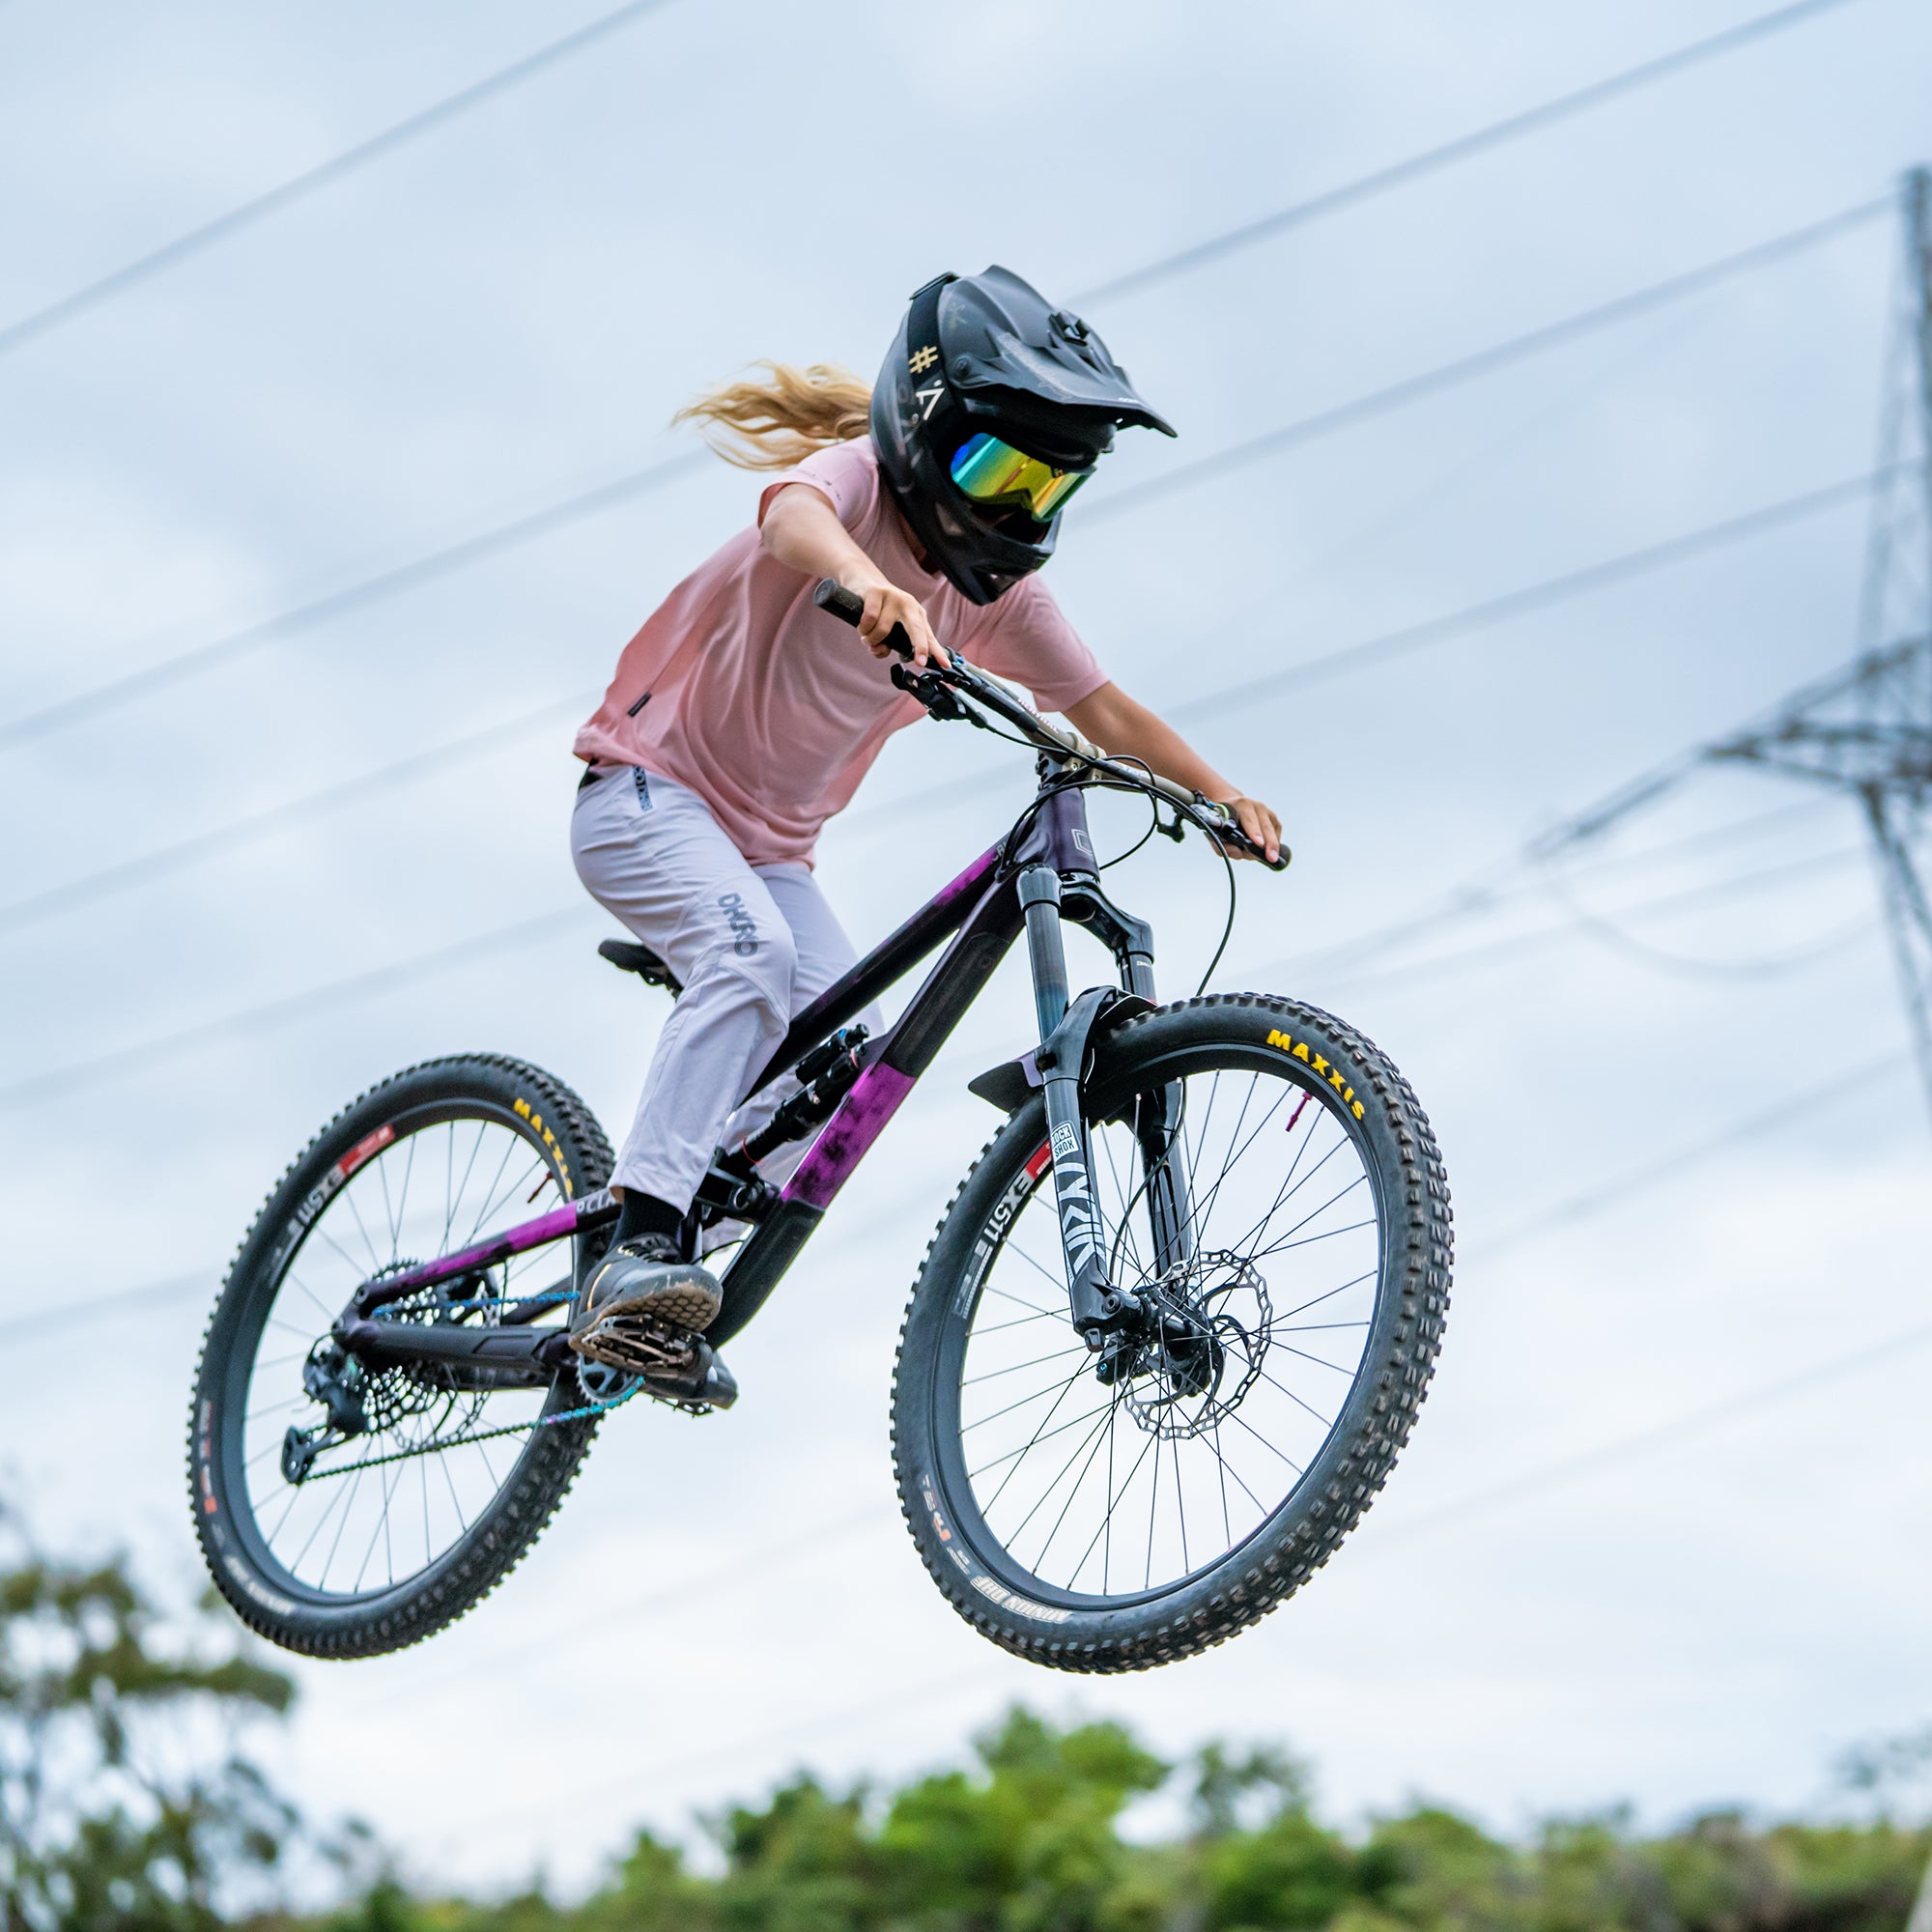
Remember when you used to throw on your shoes, scramble out the door to your bike, and race to your best friends house with the wind in your hair? You pedal like the wind and drop your bike next to the pile of kids bikes on a neighbours lawn because that's where all your friends were hanging out that afternoon. Having a bike as a kid is freedom. Pure joy. It's your first real taste of independence because you can get from point A to point B without needing to ask or pay for a ride. Just two feet and a heartbeat.
Were YOU wearing a helmet in this childhood summer break bike fantasy? Probably not. (My mom used to watch at in the doorway as I rode away and the second i was out of sight that helmet came off and was nothing more than a hazard dangling off my handlebar).
As we all know, wearing helmet is crucial to protecting kids heads from injury when bike accidents happen. Bike helmet technology has come a very long way from the Canadian Tire special I grew up with. Having the right size and fit will better protect your kid from a spill, and will certainly be more comfortable making them more likely to actually wear it (when you're watching anyways).
Below, we've outlines some simple steps to help you properly measure and fit your kid with a helmet. Don't forget to Shop our collection of kids bike helmets.
Step 1: You'll need the following to get the job done:
- Measuring tape: A flexible tape measure is ideal for accurate measurements. Pro Tip: If you don't have one, you can use a piece of string and measure it against a ruler afterward.
- Mirror: Position a mirror at a comfortable height so that your kid can see themselves during the measurement process.
Step 2: Have a helmet pep talk:
- Explain to your kid the importance of wearing a helmet and the need for proper fit.
Step 3: Measure the head circumference:
- Place the measuring tape just above their eyebrows, making sure it wraps around the widest part of their head.
- Keep the tape parallel to the ground and snug against their head, but not too tight. You don't want it too loose nor too tight, just right.
- Write it down!
Step 4: Check the fit:
- After measuring the head circumference, compare to the manufacturer's helmet size chart (might be inside the helmet, if not Google the brand and size chat - Voila!).
- Luckily, many kids helmets have an adjustable dial in the back so you can get that perfect fit for a range of sizes, without having to buy a new one each year.
Step 5: Try it on! This is what you're looking for specifically:
- Position: The helmet should sit level on your kids head, with the front edge sitting just above their eyebrows.
- Stability: The helmet should feel snug but not overly tight. It should not slide forward, backward, or sideways when your child shakes their head gently. Make them shake their head "yes" and "no".
- Chin strap: Adjust the chin strap so that it forms a "V" shape under your child's ears, with the buckle comfortably fastened. Ensure that it allows your child to open their mouth without feeling restricted.
That's it, that's all! Happy Trails! If you're going to visit Whistler with your family this summer come stop by our shop , just steps from the Whistler Gondola around the corner by the Hilton. We're a little tucked away - Whistler's best kept secret.


